A study planner has three kinds of pages, and each answers a different question. The term view answers "what is coming?" The weekly view answers "when will I do it?" The daily view answers "what do I do right now?" Most planners that get abandoned were used as a single long to-do list, with everything written on the day it was due. Using each view for its own job is what makes a planner worth opening.
Three Views, Three Jobs
| View | What goes in it | When you look at it |
|---|---|---|
| Term or monthly | Exam dates, due dates, holidays, events | Once a week, and whenever a new date is announced |
| Weekly | Study blocks, the steps of bigger assignments, fixed commitments | Every day; filled in once a week |
| Daily | Three priority tasks, a rough timeline, small to-dos | Morning and evening |
Information flows downward. Dates enter at the term level, get broken into work at the weekly level, and turn into today's tasks at the daily level. If something is written only on a daily page, you will not see it until that day arrives.
The Term View
The term view is a calendar that shows a month or a whole semester at once. Its job is to remove surprises.
At the start of term, go through every syllabus and write in each test, paper, project and presentation on its date. Add school holidays and anything personal that will take a full day. From then on, the rule is that a date goes into the term view the moment you hear it.
Keep this view sparse. Only hard dates belong on it, not daily tasks. Once it is filled in, look for crowded weeks, the ones with two tests and a paper. They are the weeks you need to start preparing for early, and you can only see them from this height.
Dated student planners usually include month pages for exactly this purpose.
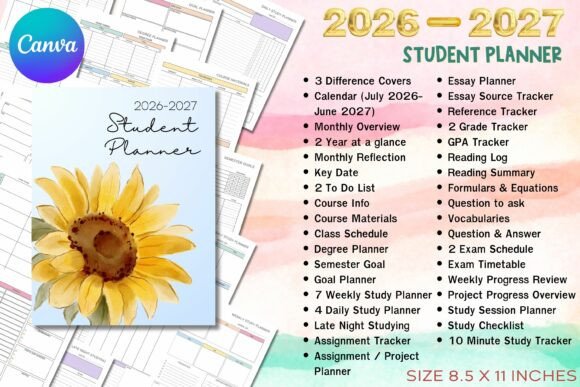
2026-2027 Student Planner
See the listing ↗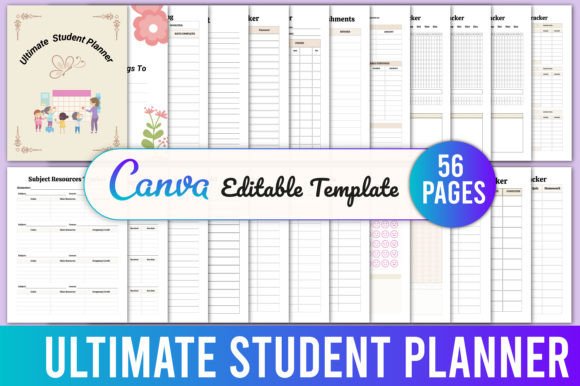
Ultimate Student Planner Canva
See the listing ↗
College Student Planner Canva Template
See the listing ↗From the collection Student & School Planner. New Creative Fabrica members get 10 free downloads, and any of these can be one of them.
The Weekly View
The weekly spread is where the planning happens. It shows seven days side by side, so you can see how much room each day has.
Three things go on it:
- Fixed commitments: classes, practice, work. These show which days are full before you add anything.
- Study blocks: specific tasks on specific days. Write "Wed: math problem set, 1–15," not "math."
- Steps of larger assignments, each placed on its own day (see below).
Be realistic about a day's capacity. If Thursday has classes until four and practice until seven, Thursday gets one small task. Overfilled days are the main reason a week's plan collapses by Wednesday. For how to find and size the blocks, see how to make a study schedule.
An undated weekly layout lets you start in any week and skip vacation weeks without wasting pages.
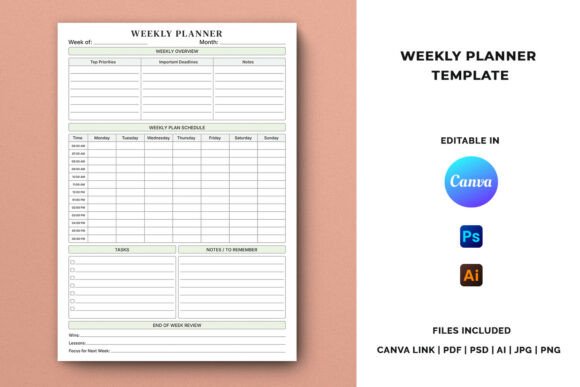
Undated Weekly Planner Template
See the listing ↗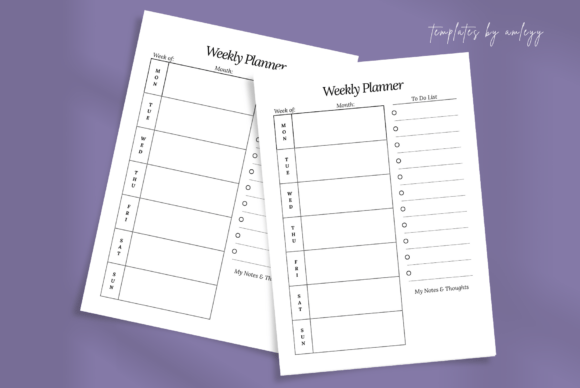
Minimal Weekly Planner Template
See the listing ↗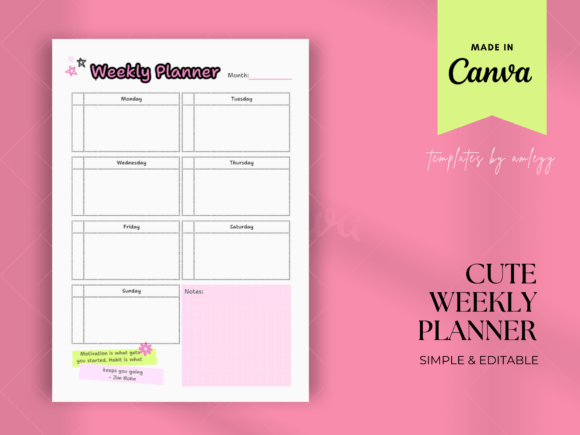
Cute Weekly Planner Template Canva
See the listing ↗From the collection Weekly Planner Templates. New Creative Fabrica members get 10 free downloads, and any of these can be one of them.
The Daily View
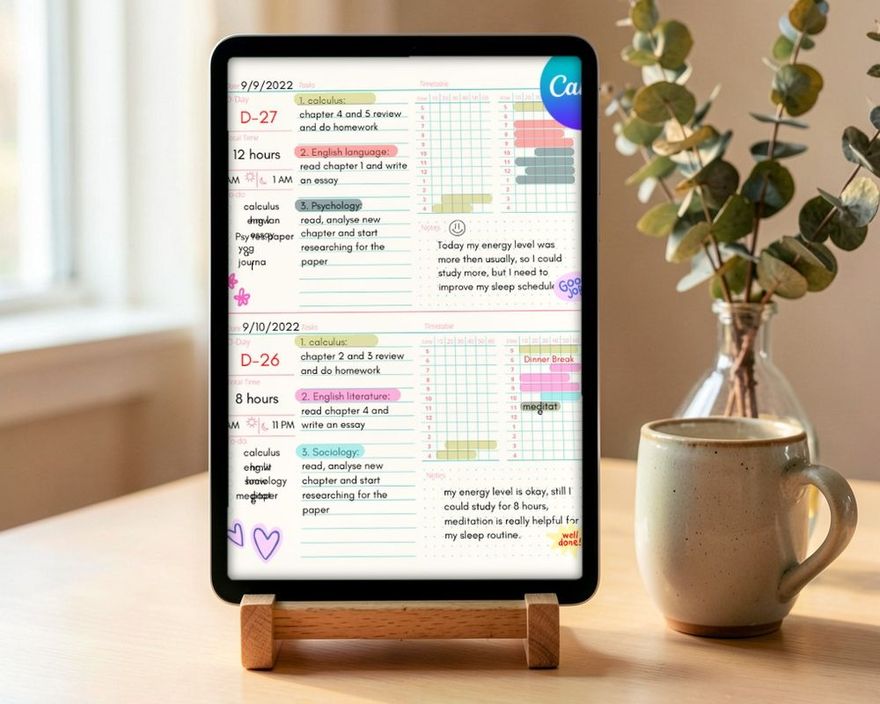
A daily page is for the day you are in. Fill it in the evening before or first thing in the morning, by copying from the weekly spread.
Keep it short:
- Three priority tasks. If only these get done, the day counts.
- A rough timeline: which task goes in which open slot.
- Small to-dos: email a teacher, print a form, return a library book.
Three priorities is a limit, not a starting point. A list of twelve items hides the two that matter. Not everyone needs daily pages; if your weekly spread has enough space for each day, you can skip them, and add them back during exam periods when the days get dense.
If You Print the Pages
A printable planner has to match your paper and your binder, and the numbers are worth knowing before you print forty pages.
| Paper | Size | Usual binder |
|---|---|---|
| US Letter | 8½ × 11 in (216 × 279 mm) | Three rings, 4¼ in (108 mm) apart |
| Half Letter | 5½ × 8½ in (140 × 216 mm) | Three rings, 2¾ in apart |
| A4 | 210 × 297 mm (8.3 × 11.7 in) | Two or four rings, 80 mm apart |
| A5 | 148 × 210 mm (5.8 × 8.3 in) | Two rings 80 mm apart, or a six- or seven-ring organizer |
A5 is exactly half of an A4 sheet, and Half Letter is half of Letter, so either can be printed two to a page and cut. A page drawn for A4 has to shrink to about 94 percent to fit on Letter, and a Letter page to about 97 percent to fit on A4; "fit to page" in the print dialog does this for you. Organizer ring systems differ, so check the spacing before you punch.
Break Big Assignments Into Steps
A planner entry that says "History paper due" on the 20th is a warning, not a plan. Anything that takes more than one sitting should be split into steps, and each step gets its own date.
For a research paper, the steps might be:
- Choose the topic and confirm it with the teacher.
- Find and read sources; take notes.
- Write the thesis and an outline.
- Draft the body.
- Draft the introduction and conclusion.
- Revise, check citations, proofread.
Work backward from the due date. Set your own finish date a day or two before the real one, then give each step a day, moving back toward today. Write the steps into the weekly views of the weeks they fall in.
Doing this often shows that a paper due in three weeks needs to start this week. That is the information you want, and it is better to learn it now than on the 18th.
Color Code by Subject
Give each subject one color and use it everywhere: planner entries, the binder or folder, the tab in your notes. After a week or two the color registers before the words do, and a glance at the week shows how your time is divided.
Some guidelines:
- Keep to one color per subject, plus one for personal items. More than six or seven becomes hard to remember.
- Write a small key on the first page of the planner.
- Use the same colors as your timetable, if you have one; school timetable ideas covers picking shades that stay readable.
- Do not use color for priority as well as subject. One meaning per color.
If carrying a set of pens is too much, a single colored dot or an underline next to each entry does the same job.
The Sunday Planning Session
The weekly spread does not fill itself. Set aside fifteen to twenty minutes at the same time every week; Sunday afternoon or evening works for most people.
- Look at the term view for the next two to three weeks. What is due? What is being tested?
- Write in the fixed commitments for the coming week.
- Place the steps of any larger assignments on specific days.
- Add study blocks for regular homework and for review of older material.
- Check each day's load and move things off the overfilled ones.
- Leave one block empty as a buffer.
Then spend two minutes each evening copying tomorrow's items to the daily page, or just rereading tomorrow's column.
Tie the session to something that already happens every Sunday, such as right after dinner or once the laundry is on. A session with a trigger gets done. One planned for "sometime Sunday" usually does not.
Supplies for a Printed Planner
A printed planner needs paper that takes ink on both sides, holes in the right place, and one color per subject.
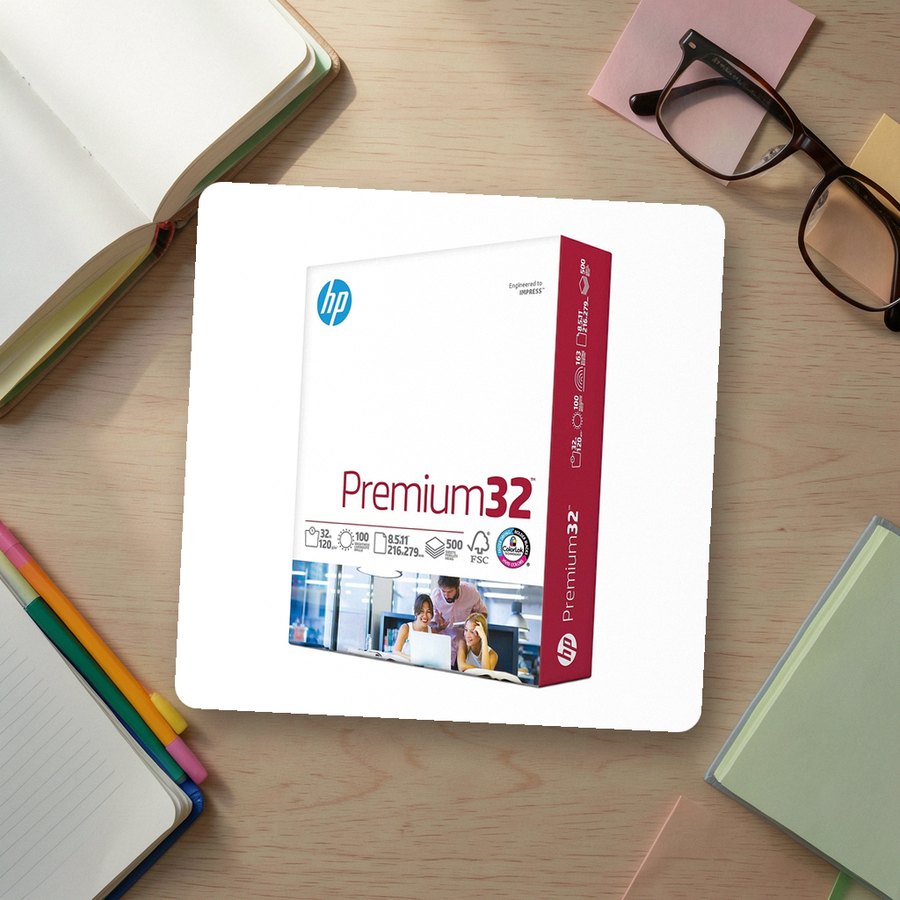 Premium printer paper, 32 lbHP PapersSee it on Amazon
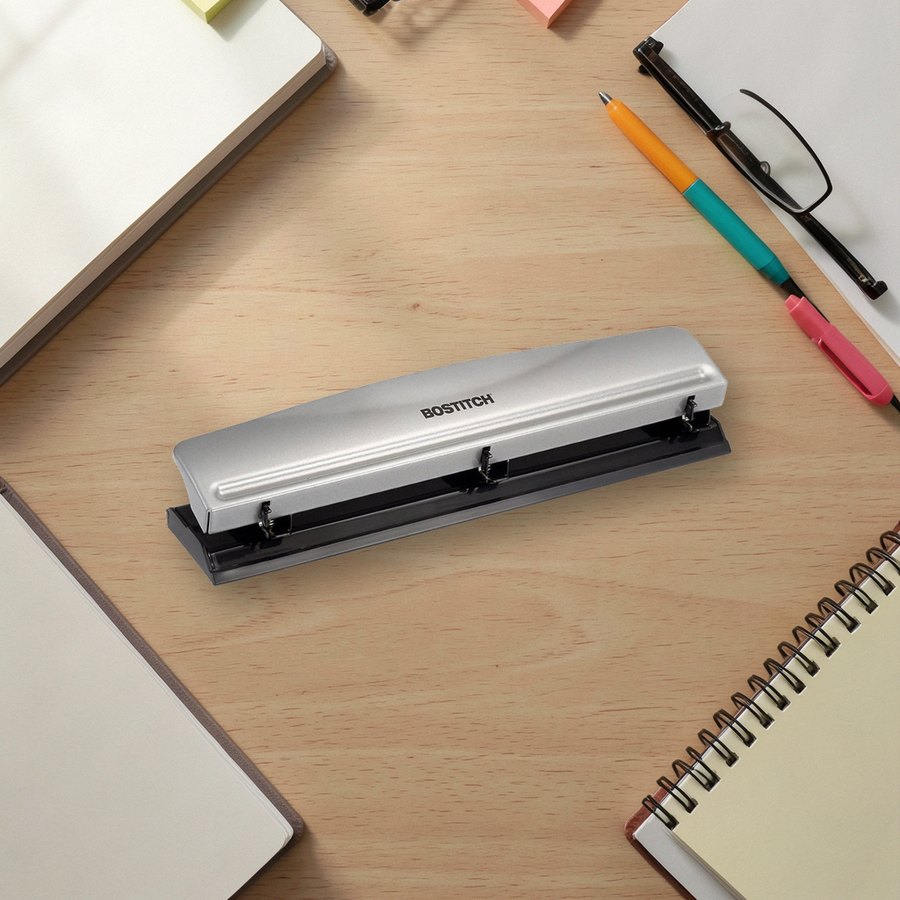 Three-hole punch for binder pagesBostitchSee it on Amazon
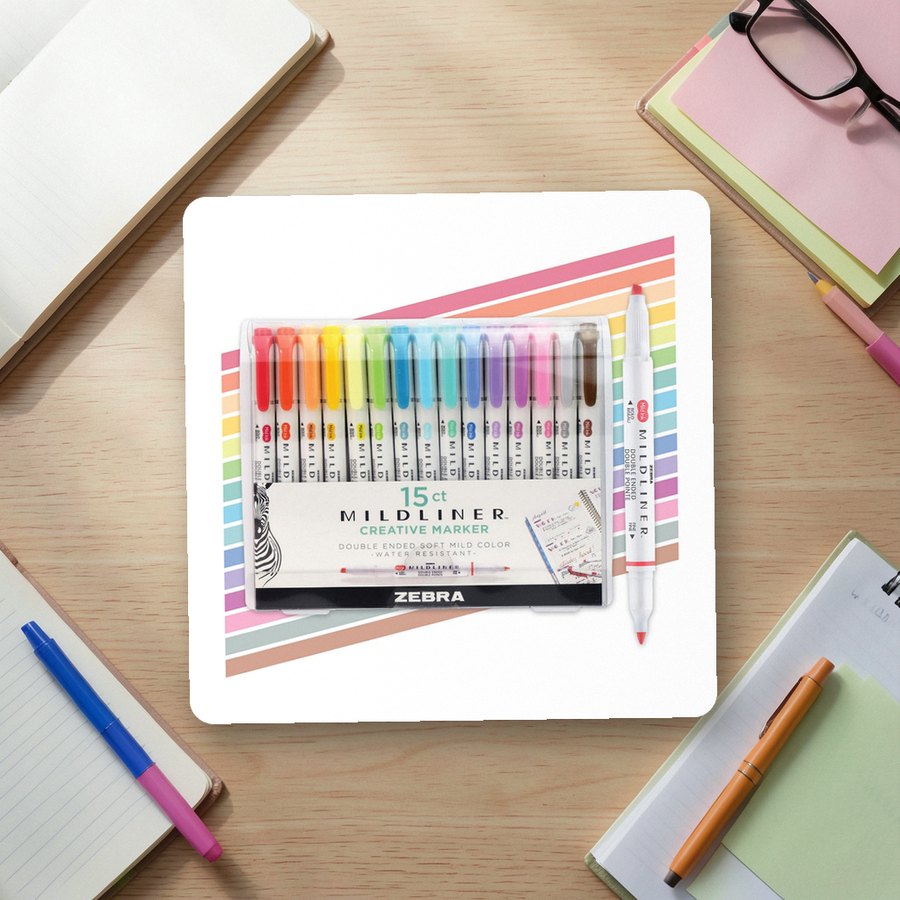 Dual-tip highlighters in soft colorsZebra PenSee it on Amazon
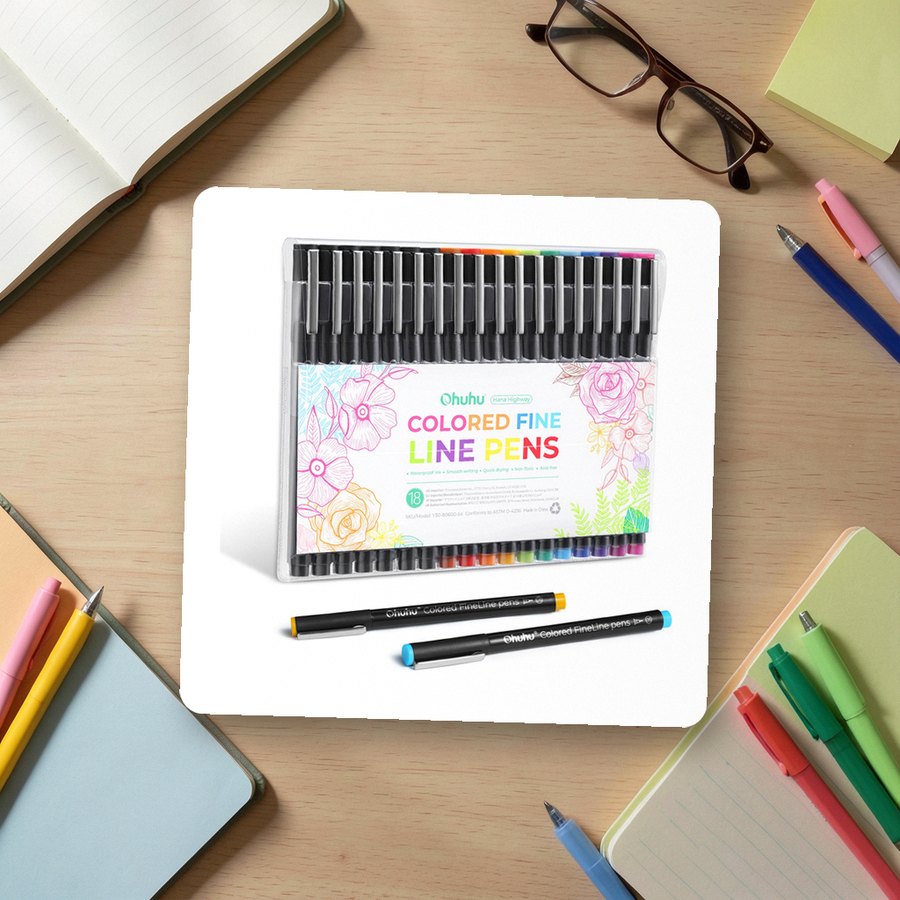 Colored fineliner pensOhuhuSee it on Amazon
As an Amazon Associate we earn from qualifying purchases.
Track What Actually Got Done
A planner is also a record. At the end of each day, mark every task with one of three signs: a check for done, an arrow for moved to another day, a cross for dropped.
The marks tell you things a to-do list cannot. A task with three arrows in a row is either too big, too vague or not really necessary, so split it, rewrite it or cross it out. A subject that is always the one being moved needs a better time slot. A week where everything was checked off may have been under-planned, or may simply have been a good week.
Look over the marks during the next Sunday session and adjust the size of your plans to match what you really finish. Over a few weeks, your plans get closer to what happens, and that is when a planner starts to feel reliable.
When exams are on the horizon, the same three views carry an exam revision plan: dates in the term view, topics in the weekly view. If you would rather keep the whole thing on a tablet, see how to use a digital planner on an iPad. Either way, start with the term view today. Ten minutes with your syllabi and a calendar page is the most useful planning you will do all semester.
Templates for This Topic
Student & School Planner15 hand-picked · open the collection →Weekly Planner Templates15 hand-picked · open the collection → Study Planner & Timetable15 hand-picked · open the collection →