
A Notion setup for school needs four things: a list of your classes, a list of assignments with due dates, a place for notes, and one dashboard page that shows what is due this week. Everything else is optional. Build those four, use them for a month, and add more only when you notice something missing. The setups that get abandoned are almost always the large ones.
How Notion Is Put Together
Two building blocks cover everything in this guide.
A page is a blank document. It can hold text, checklists, images and other pages nested inside it.
A database is a collection of pages that share the same set of properties, such as a date, a status or a category. Notion's help center lists seven layouts for viewing one: table, board, timeline, calendar, list, gallery and chart. Each view keeps its own filters and sorting, so changing one does not change the others. An assignment is a good example: it is a page you can open and write in, and it is also a row with a due date.
The button names below are the ones in Notion's help center at the time of writing. Notion moves things around from time to time, so if a label differs, look for the nearest match.
Which Plan You Need
The Free plan is enough for everything here. For individual use it has no cap on pages and blocks; the limits that matter are file uploads of up to 5 MB each, 7 days of page history and 10 guests.
College students can get more without paying. Notion's Education plan is the Plus plan with a one-member limit: unlimited file uploads, 30 days of page history and up to 100 guests. The terms on Notion's own pages are specific:
- It is for students and educators at accredited colleges and universities. K-12 students and teachers are not eligible.
- Your school email must be the main email on the account. A school address added as a second email does not count.
- To switch, go to Settings, choose Upgrade plan, then Get free education plan.
- You verify your student status with the school email once a year to stay on it.
If you are in high school, stay on Free. Nothing in this guide needs more.
Build the Classes Database
Create a new page called Classes and select Table under "Get started with," or type /database on any page. Each row is one class. Useful properties:
- Name: the course title.
- Term: a Select property, for example Fall 2026, so you can hide old classes later.
- Teacher or instructor: plain text.
- When and where: days, time and room, as text.
- Links: a URL property for the course website, or Files & media for the syllabus.
Open any row and you have a full page for that class. Paste in the grading breakdown, office hours and contact details there, so they are one click from everything else.

Build the Assignments Database
This is the part you will use every day. Create a second database called Assignments, with these properties:
- Name: what the task is, written specifically ("Lab report 3" and not "Chem").
- Due: a Date property.
- Class: a Relation property that points to the Classes database. Add a property, search for Relation, pick Classes and click Add relation. Switching on "Show on Classes" makes each class page list its own assignments.
- Type: a Select property: homework, reading, essay, project, exam.
- Status: Notion's Status property sorts its options into three groups, To-do, In progress and Complete, which is all you need.
Then add three views with the + at the top of the database:
- This week: a table filtered to items that are not complete and due within the next seven days, sorted by due date with the earliest first.
- Calendar: a calendar view by due date, for seeing crowded weeks ahead of time.
- All: everything, grouped by class.
At the start of each term, go through every syllabus and enter all the due dates and exams you can find in one sitting. Set aside an hour or so; it is the step that makes the whole system worth having. The same habit on paper is described in how to use a study planner.
Decide Where Notes Live
You have two reasonable choices, and the important thing is to pick one.
Notes inside each class page. Simple, and fine if you take a handful of notes per class.
One Notes database for everything. Each note is a row with a date and a relation to its class. This scales better: you can search all notes at once, filter by class and sort by date. If you choose it, set up a database template so that every note starts with the same headings: click the dropdown arrow next to New at the top right of the database and select + New template.
Notion works best for typed notes. If you prefer handwriting, keep handwritten notes in a tablet app or on paper and use Notion only for classes and assignments. Trying to force one tool to do everything is how setups get messy.
Put It Together on a Dashboard
The dashboard is a plain page that shows pieces of your databases, so you do not have to visit each one. Type /linked to add a linked view of a database to the page. It stays in sync with the original and can have its own filter.
A dashboard that stays useful holds:
- the This week view of Assignments at the top
- a short list of current classes, each a link to its page
- a small quick-capture checklist for things to sort out later
Click the star at the top of the dashboard and it appears under Favorites in your sidebar. Treat it as the front door. If you find yourself scrolling past something on it every day without reading it, remove that block.

Starting From a Template Instead
If building databases from scratch is not appealing, a ready-made template gives you the same parts already connected. These three are student setups from our collection.
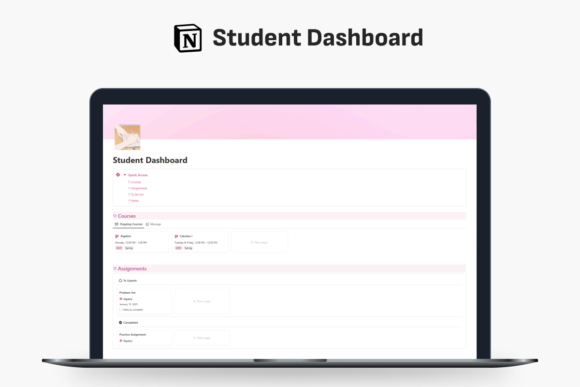
Student Dashboard Notion Template
See the listing ↗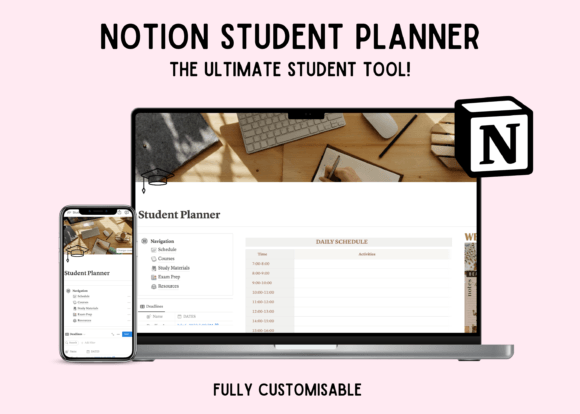
Notion Student Planner Dashboard
See the listing ↗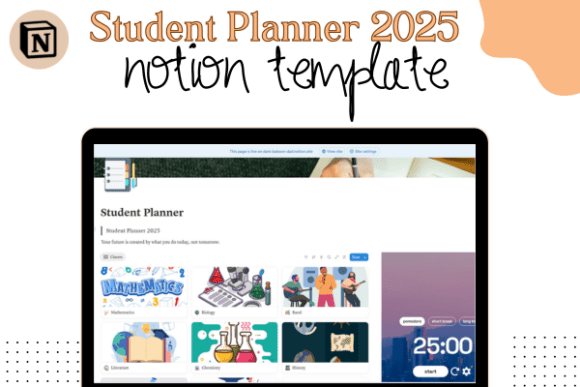
Student Planner Notion Template
See the listing ↗From the collection Notion for Students. New Creative Fabrica members get 10 free downloads, and any of these can be one of them.
A Notion template is delivered as a link to a shared page, not as a file. Notion's documented steps are:
- Log in to Notion in your browser.
- Open the template link from your download.
- Click Duplicate in the upper right corner of the page.
- Choose the workspace to copy it into from the dropdown.
The copy lands in the Private section of your sidebar, with all its sub-pages, and it is yours: editing it does not change the seller's original. Before entering real data, spend ten minutes looking at how it is built: which databases exist, how they are related and which views are filtered. Then delete the sample rows and remove any section you do not expect to use.
Some templates are built around a single method. These two are organized around Pomodoro-style focus sessions, which pair well with the approach in our guide to study tips that work.
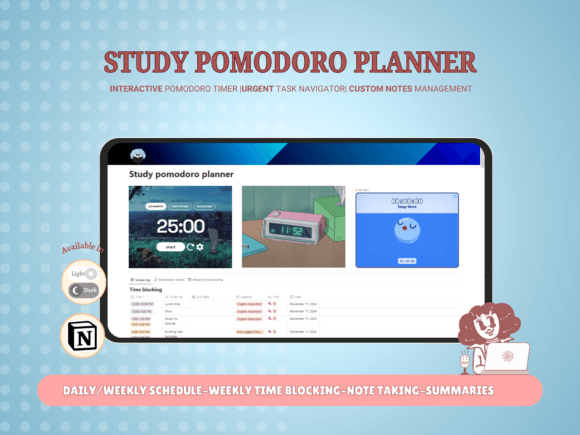
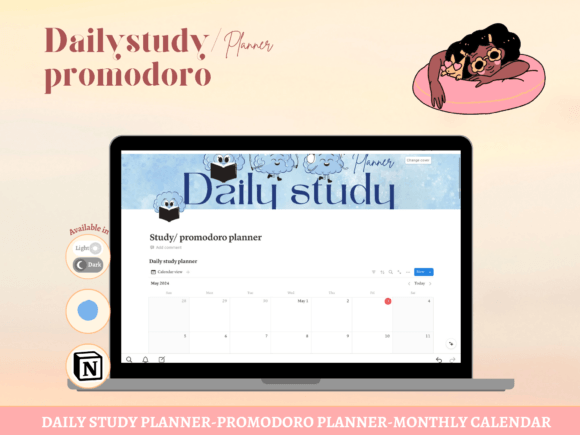
From the collection Notion for Students. New Creative Fabrica members get 10 free downloads, and any of these can be one of them.
Keep It Minimal
Notion makes it easy to add things, so tidiness depends on what you leave out.
- One home for each kind of information. Assignments go in the Assignments database and nowhere else. Two task lists means neither can be trusted.
- Few properties. If you never filter or sort by a property, delete it.
- Archive at the end of term. Change the Term filter so old classes disappear from the dashboard without being deleted.
- Decoration comes last. Covers, icons and widgets are pleasant, but they are not the system. Add them after the system has been in use for two weeks.
A good test: can you add a new assignment in under fifteen seconds? If it takes longer, there are too many fields to fill in.
Using the Phone App
The mobile app lets you read, edit and comment on everything, but it is best for two things: checking what is due and capturing something quickly. Build and rearrange on a computer. Notion's help center lists what the phone app cannot do, including importing data and selecting several blocks at once.
One limit shapes the dashboard: there are no columns on mobile. A layout with blocks side by side on a computer collapses into a single column on the phone, so keep the This week view first, where it shows without scrolling. When a teacher announces a deadline, add it to Assignments right then with just a name and a date, and fill in the rest later.
Offline access exists, but you have to set it up. In the desktop and mobile apps, open a page, tap the ••• menu in the top right corner and turn on Available offline. Notion says its Business and Enterprise plans also download recent and favorited pages automatically; on the other plans you choose each page yourself. When you download a database, the first 50 rows come with it. If you need your schedule in a building with poor signal, mark the dashboard and the Assignments database before you get there.
Your First Twenty Minutes
Create the Classes database and enter this term's classes. Create Assignments, add the relation and enter everything due in the next two weeks. Make the dashboard with the This week view. Stop there and use it for a week before adding anything.
If you would rather start from a finished layout, browse the Notion templates for students. For a wider look at getting set up at the start of term, including paper and file folders, see the back to school organization checklist. If handwriting on a tablet suits you better than typing, the guide to a digital planner on an iPad covers that route.
Templates for This Topic
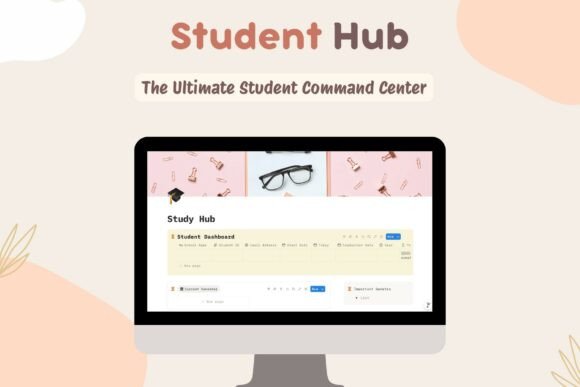 Notion for Students9 hand-picked · open the collection →
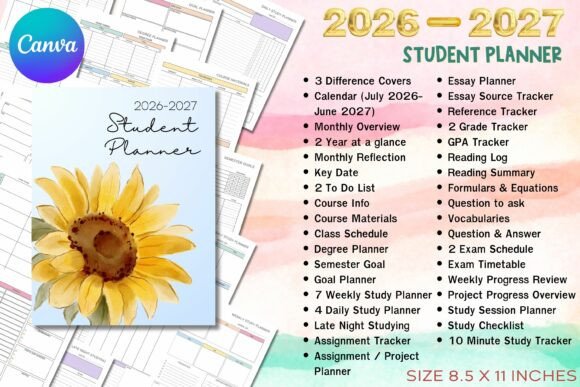 Student & School Planner15 hand-picked · open the collection →